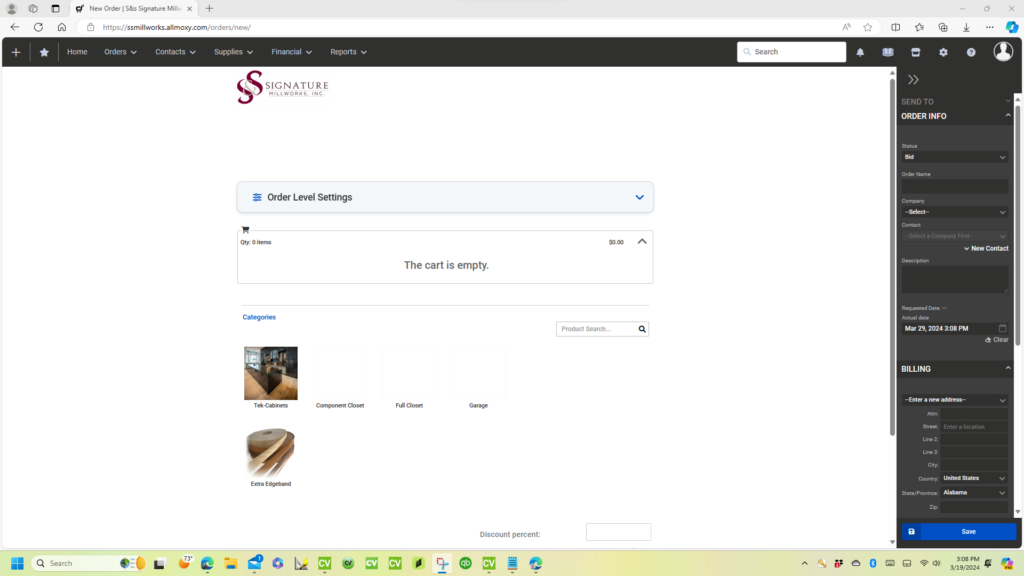
When planning your casework, it’s a smart approach to have the walls where the cabinets will be installed right in front of you. This way, you can visualize the space and make informed decisions about what type of casework you need. Whether you’re opting for melamine or paint-grade finishes, having a clear view of the area helps you determine the best fit for your project.
To get started, focus on the Order Level Settings for your casework. This step ensures that you set the right specifications for each cabinet, including material type, dimensions, and any other customizations you require. By filling out these details upfront, you’ll streamline the ordering process and ensure that your casework aligns perfectly with your vision. 🛠️
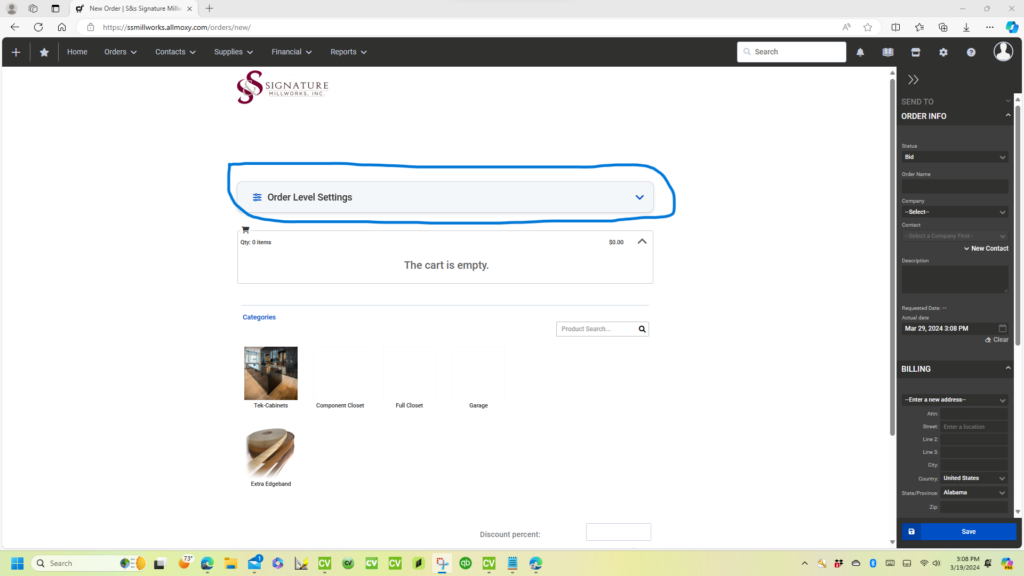
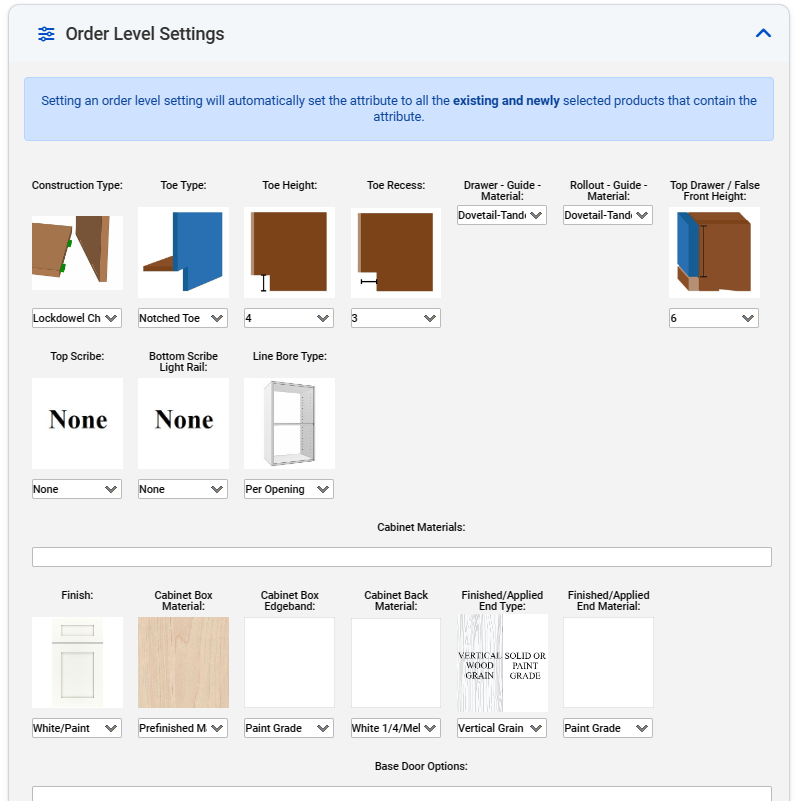
Here, you have several options to customize the casework for your assemblies:
- Toe Type: You can choose the type of toe kick design for the cabinets.
- Heights and Recess Depths: Adjust the overall height and depth of the casework to suit your needs.
- Drawer and Rollout Designs: Customize the drawer and rollout configurations.
- Top Drawer Heights: Set the standard height for the top drawers in your project.
Remember that each of these selections can be tailored individually for each cabinet if necessary. 🛠️
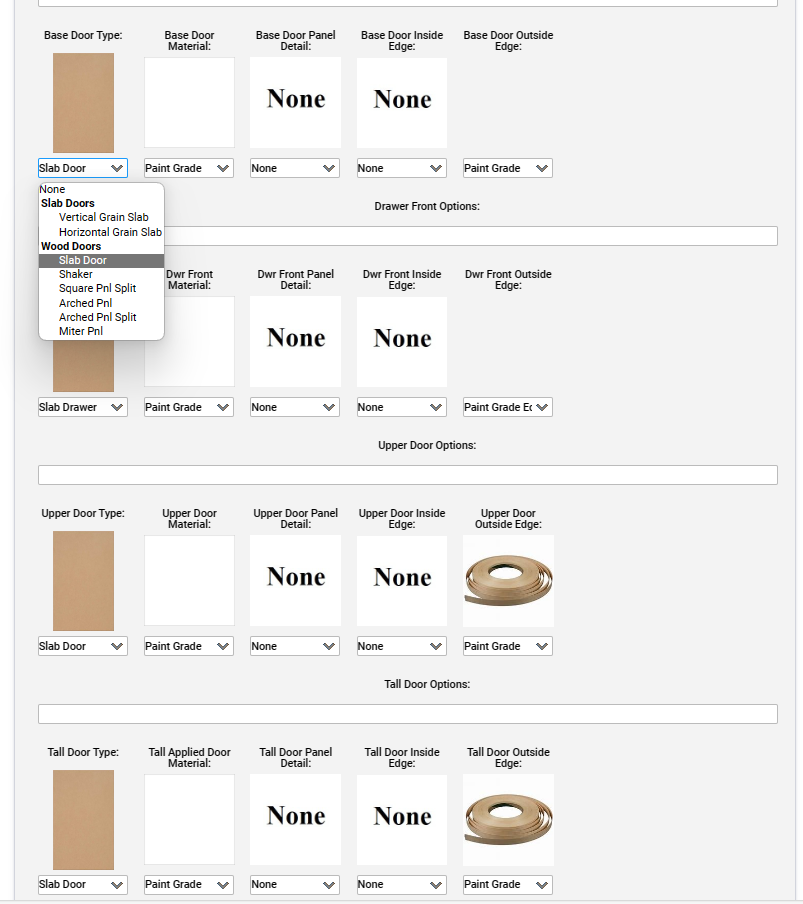
Each attribute in the casework customization process offers a drop-down menu, allowing you to select your desired options for how you want the casework to appear. Whether it’s the type of material (such as melamine or paint-grade), dimensions, or other specifications, you have the flexibility to tailor each individual cabinet to your preferences. 🛠️
Certainly! To begin planning your casework, follow these steps:
- Create a Drawing: Whether it’s a hand-drawn sketch or a CAD (Computer-Aided Design) drawing, visualize the area where you want the casework to be installed. This will help you understand the available space and make informed decisions.
- Material Selection: Decide on the type of casework you want—whether it’s melamine, paint-grade, or any other material. Knowing the material upfront will guide your design choices.
- Order Level Settings: Fill out the Order Level Settings for each cabinet. Specify dimensions, configurations, and any customizations needed. This step ensures that your casework aligns perfectly with your vision.
Remember, each cabinet can be individually tailored to your preferences. Happy planning! 🛠️
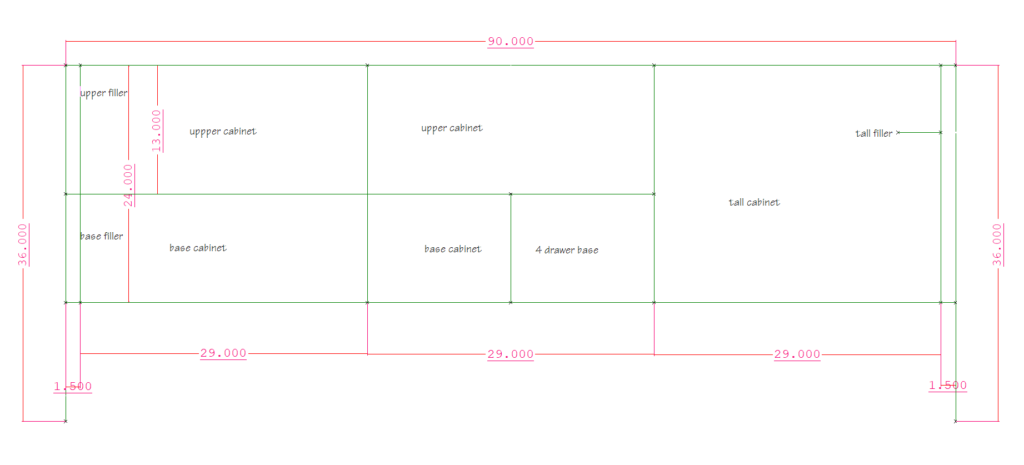
When selecting cabinets for your project, it’s a good practice to follow a systematic approach. Let’s break it down:
- Open the Cabinet Catalog: Begin by accessing the cabinet catalog. You’ll find a variety of options, styles, and configurations to choose from.
- Start from the Left: Begin your selection process from the left side. This ensures consistency and helps you maintain a logical order.
- Evaluate Based on Sizes: Refer to the sizes on your drawings. Match the available space with the appropriate cabinet dimensions. Consider upper and base cabinets as needed.
- Specific Cabinets Needed: Based on your layout, it appears that you’ll require a left filler, an upper cabinet, and a base cabinet.
Remember, each cabinet can be customized to fit your requirements. Happy cabinet hunting! 🛠️
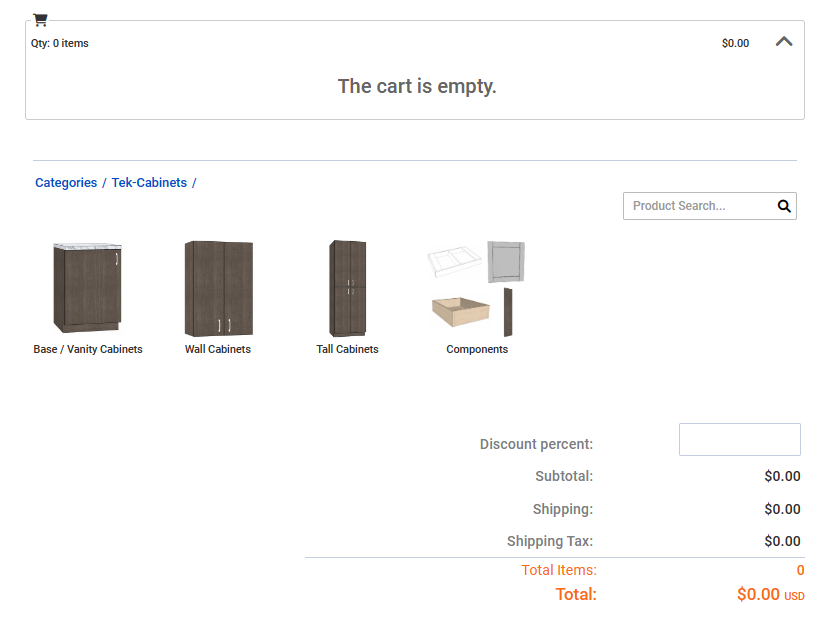
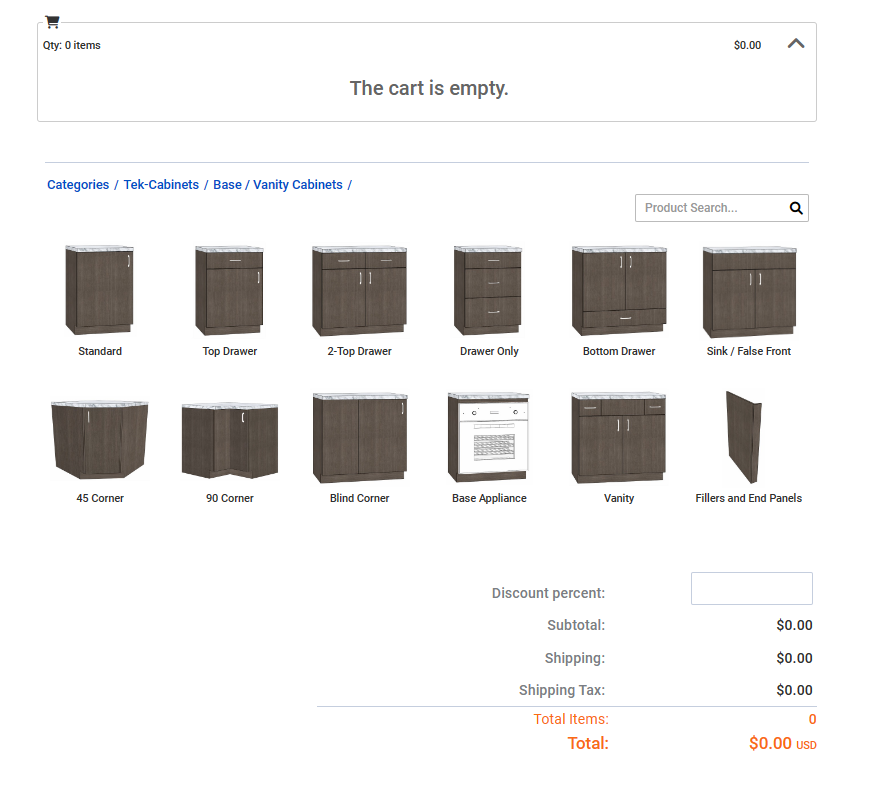
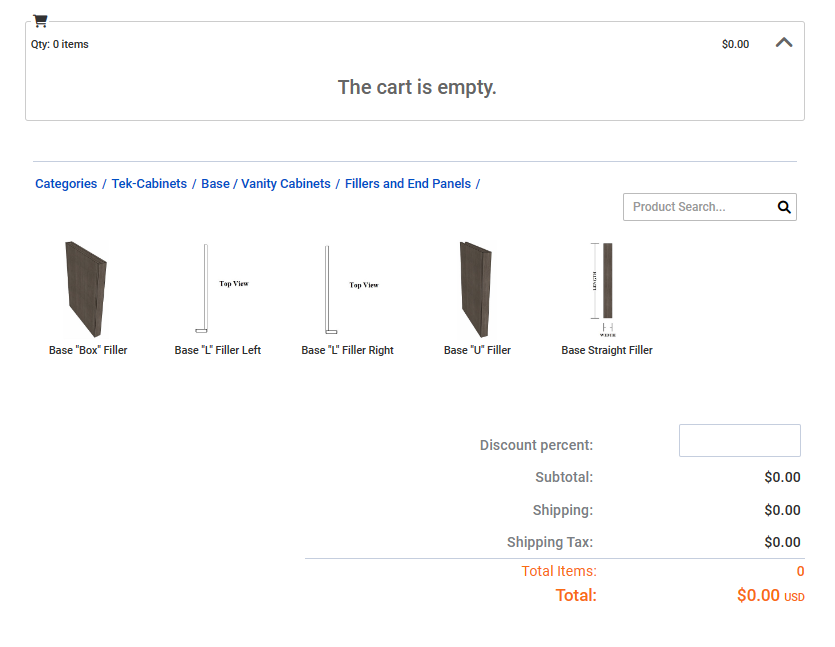
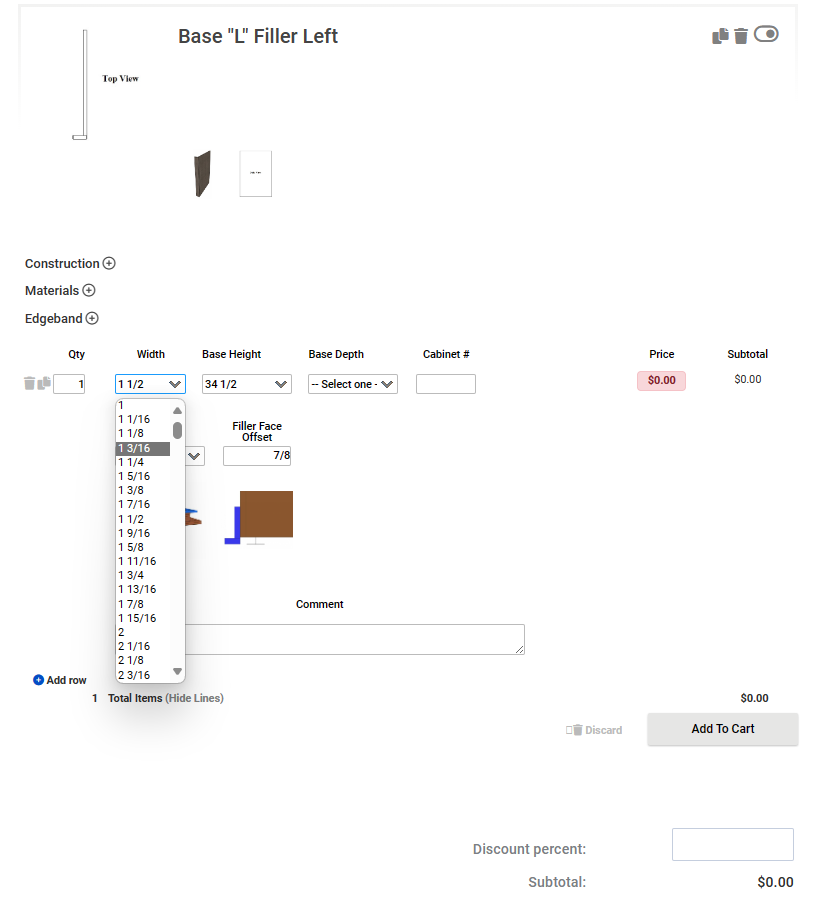
At the individual cabinet level, you have the opportunity to customize the Base Filler Left L-shaped cabinet according to your preferences. Here are the key steps:
- Filler Size: You can choose the size of the filler. A 1 1/2″ filler is recommended, as it allows drawers to pass by most door moldings.
- Depth Selection: Currently, no price has been assigned to this cabinet because the depth hasn’t been specified yet. Once you choose the depth and other relevant options, the price will be determined.
Remember, these adjustments ensure that your casework fits seamlessly into your space and meets your requirements. 🛠️
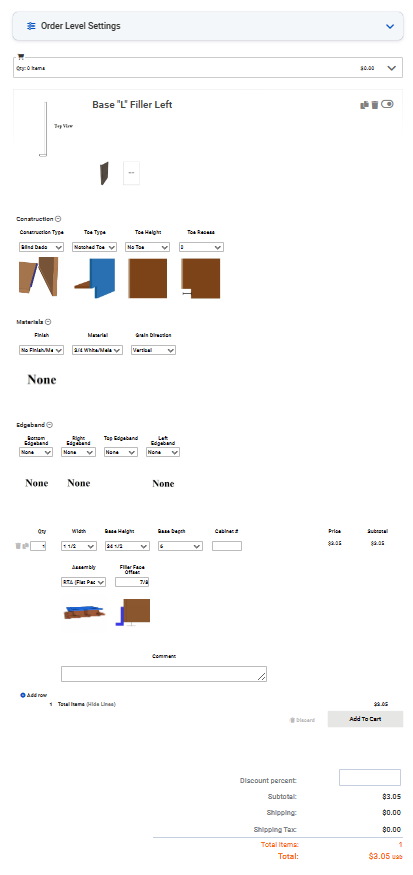
The prices listed on this page are indicative and depend on factors such as the materials used and whether the cabinets are assembled or not. Keep in mind that your specific costs may vary. Additionally, I’ve opted for a filler that extends to the floor, with the base toe butting into it. This explains why I’ve selected no specific toe height or recess. 🛠️

Certainly! Let’s proceed with selecting the wall filler. Follow these steps:
- Go to the wall cabinets section in the cabinet catalog.
- Look for the fillers category.
- Specifically choose the left L-shaped filler.
This will ensure that your casework design includes the appropriate wall fillers. 🛠️
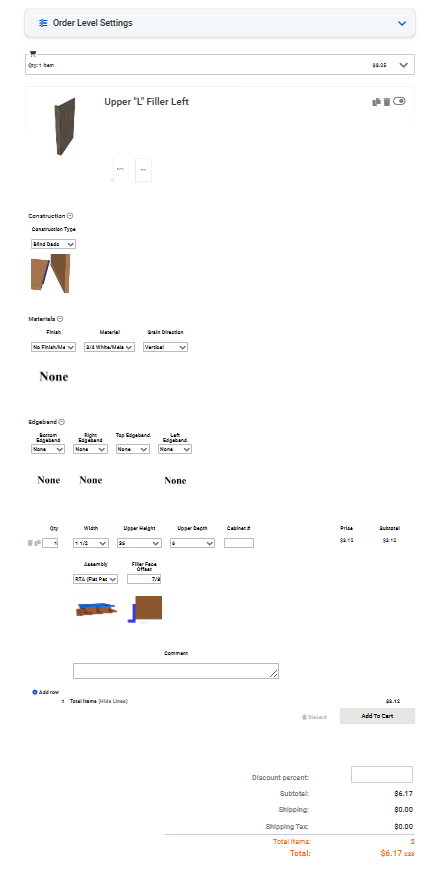
On this page, you’ll notice that there’s one item in the cart displayed at the top, along with a subtotal reflecting the cost of the two items you’ve selected. Let’s break down the process:
- Filler Customization: Before adding the filler to your order, ensure that it has been properly vetted for size, length, depth, and material. This attention to detail ensures a precise fit within your space.
- Add to Cart: Once you’re satisfied with the filler specifications, simply add it to your cart. This action signals that you’re ready to proceed with your selection.
- Next Steps: Now, let’s move on to the next item. We’ll follow a similar process for the two upper cabinets. Head to the cabinet catalog, select wall cabinets, and specifically choose the upper cabinets with two shelves and a pair of doors.
Remember, each step contributes to creating a customized casework solution tailored to your needs. 🛠️
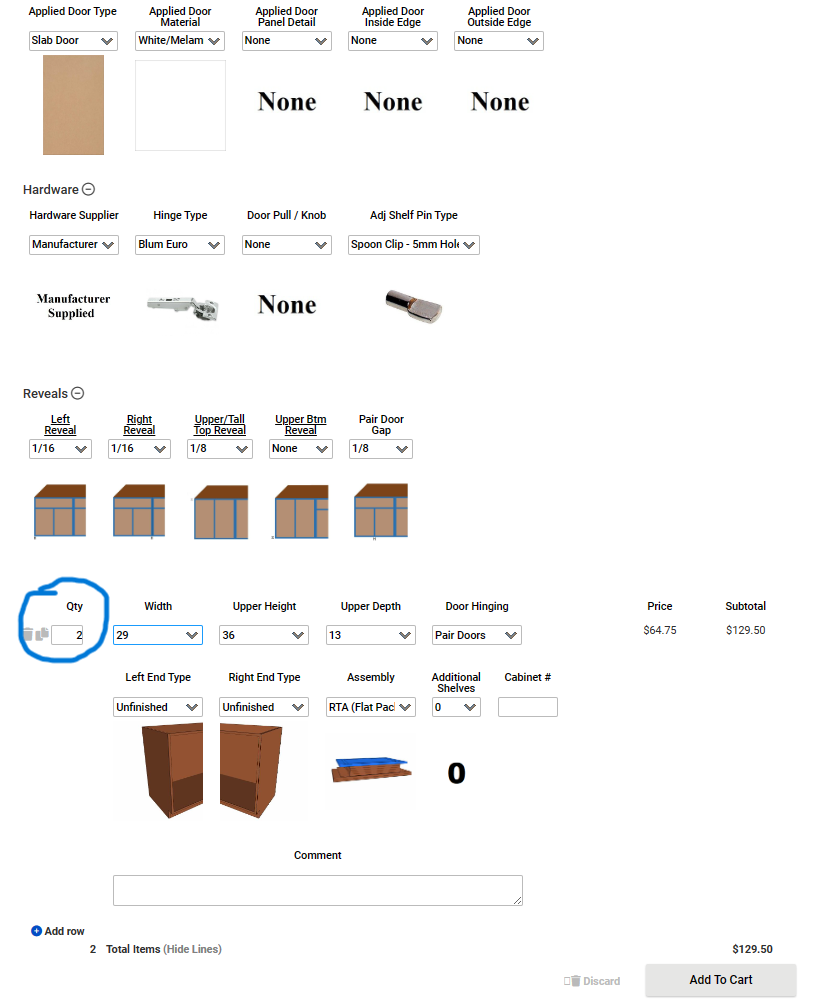
Based on your layout, consider adding a 29″ base cabinet and two 15″ base cabinets. One of the 15″ base cabinets should have a door hinged on the left, while the other can have four drawers for versatile storage. 🛒
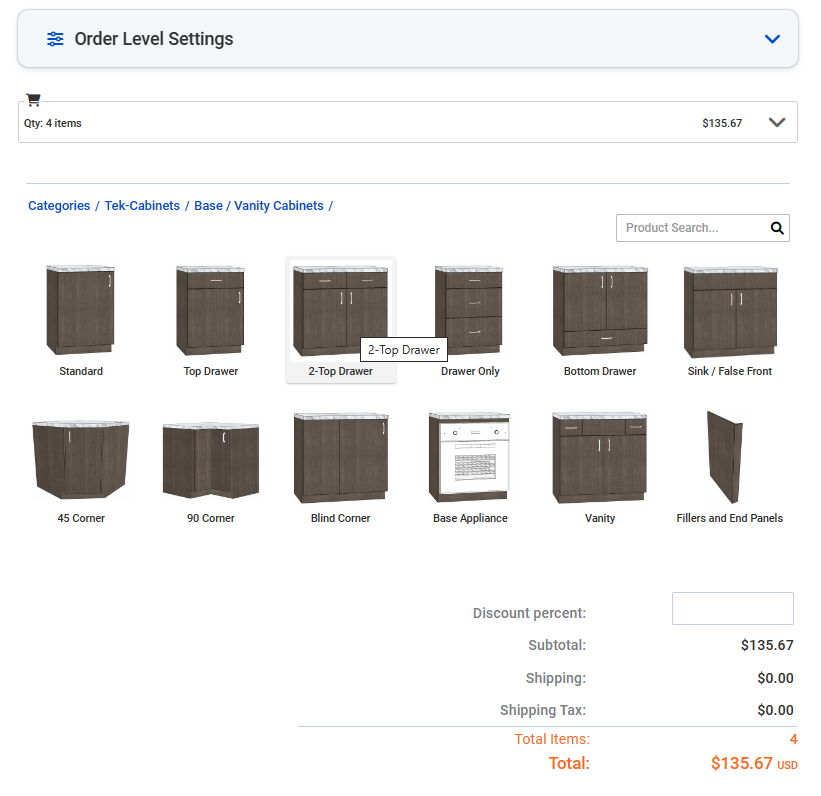
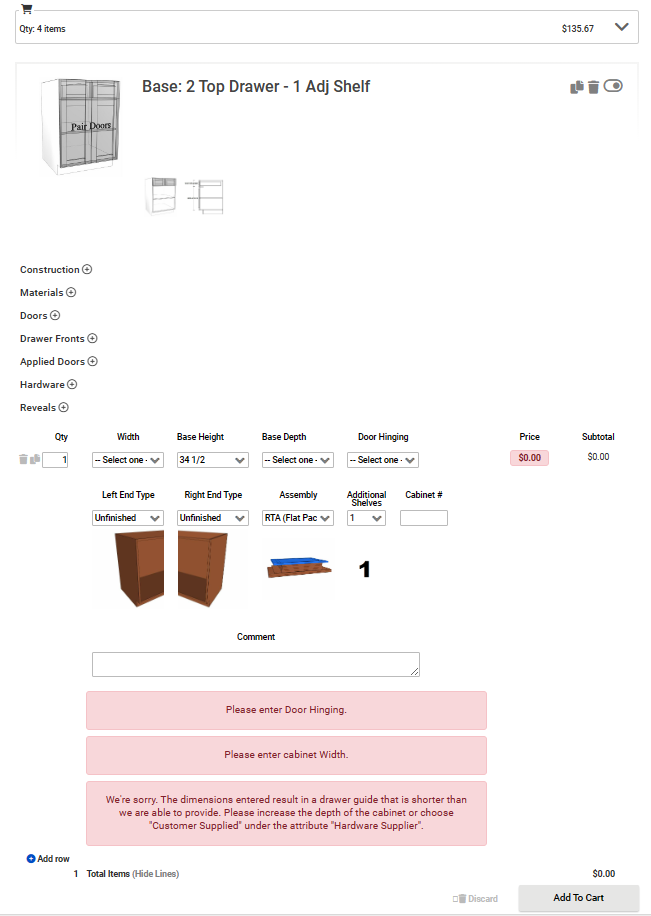
Certainly! To complete your order, follow these steps:
- Hinging of Doors: Choose the appropriate door hinging for your cabinets. Consider whether you want left-hinged or right-hinged doors based on your layout and preferences.
- Width and Depth Selection: Specify the desired width and depth for each cabinet. Ensure they align with your space requirements and design vision.
- Extra Adjustable Shelf: If needed, add an extra adjustable shelf to enhance storage capacity and organization within your cabinets.
Remember, these selections ensure that your casework meets your exact specifications. 🛒
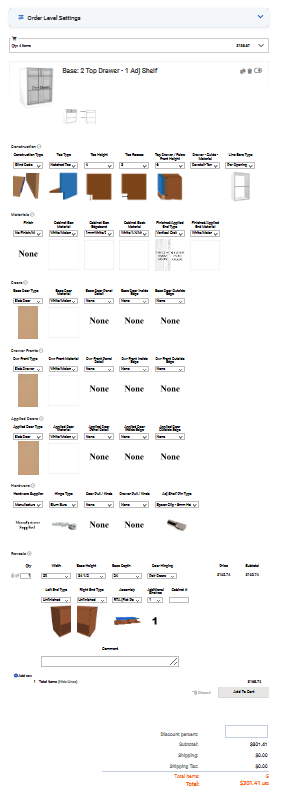
With all the attributes selected and to our satisfaction, we can add the base cabinet to the cart. Similarly, for the 15″ base cabinet, we’ll choose just the top drawer. 🛒
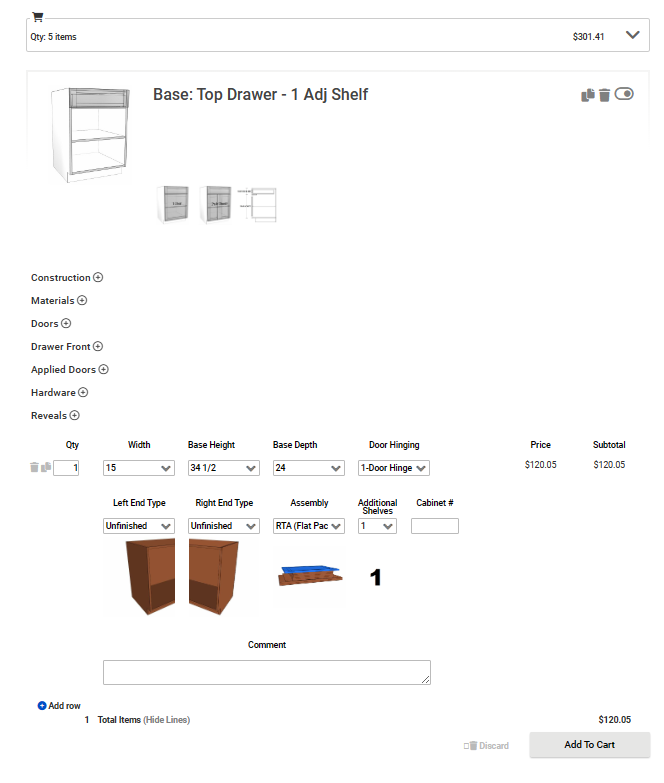
Certainly! To select the drawer-only base cabinets, follow these steps:
- Go to the cabinet catalog.
- Choose the standard bases category.
- Specifically select the drawer-only base cabinets.
These cabinets are designed for efficient storage and easy access. 🛒
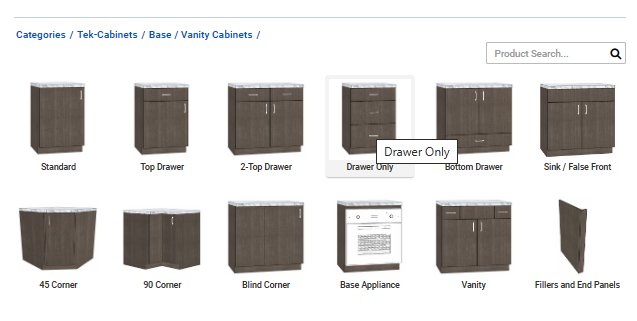
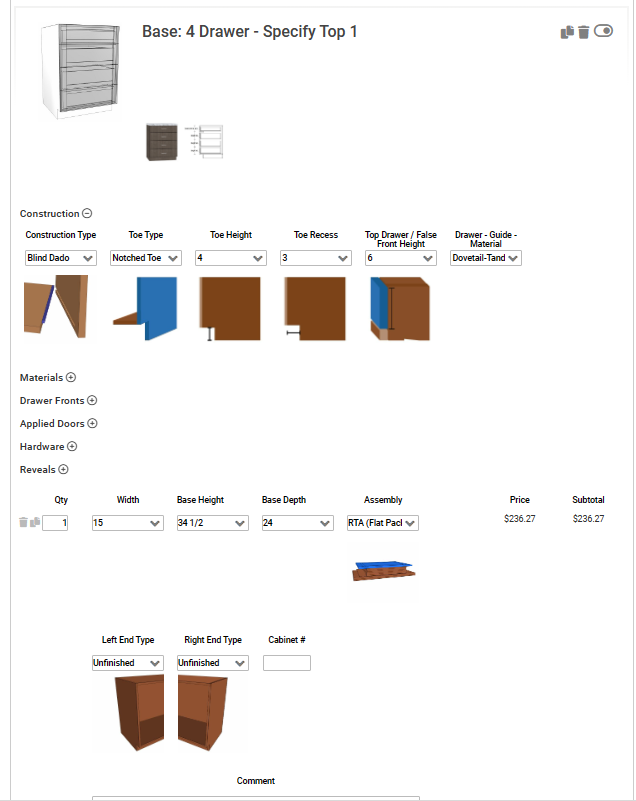
When specifying the top drawer for your base cabinets, you can keep it consistent with the other base cabinets by choosing the same configuration. Ensure that all the drawers align in terms of design and functionality.
Next, let’s address the tall cabinet, followed by the filler. These steps will help you create a cohesive and well-designed casework solution.